How to: Configure Tel2 SIP Trunk on a 3CX PBX

Matthew Atkinson
Last Update pre godinu
Step 1: Setup your Registered SIP Trunk in the Tel2 Portal
1 - Login to the Tel2 Web Portal
2 - Click on the "Voice" tab at the top of the page
3 - Click "Profiles" on the left hand side of the page
4 - Select the Connection Type as "Registered SIP Trunk"
5 - Choose the phone number you want to use as your 'pilot number'
6 - Click "Save 'Default' Profile"
NOTE: The Pilot Number is typically the main number on your account and will be the number you use to register to Tel2. All other numbers on your account will behave like DDI numbers and will be automatically routed to your 3CX trunk via the pilot number registration which we will setup next. Any new numbers added to the account will automatically route to 3CX as well.

Step 2 - Add a new SIP Trunk to 3CX
1 - Login as an administrator to your 3CX account
2 - Click 'SIP trunks' from the left menu:
3 - Click 'Add SIP Trunk' in the SIP Trunks page:
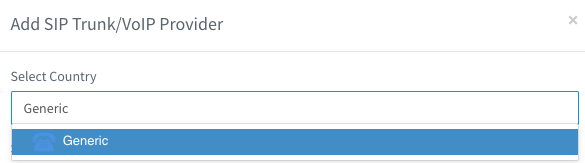
4 - Click on Select Country and type the word 'Generic' and select the 'Generic' option:
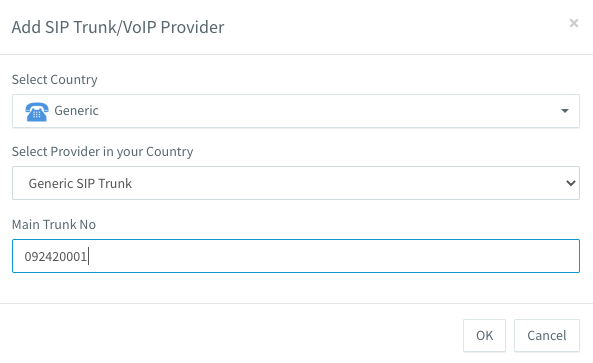
5 - Select the option 'Generic SIP Trunk' and then enter the 'pilot number' from your Tel account to be the 'Main Trunk No'
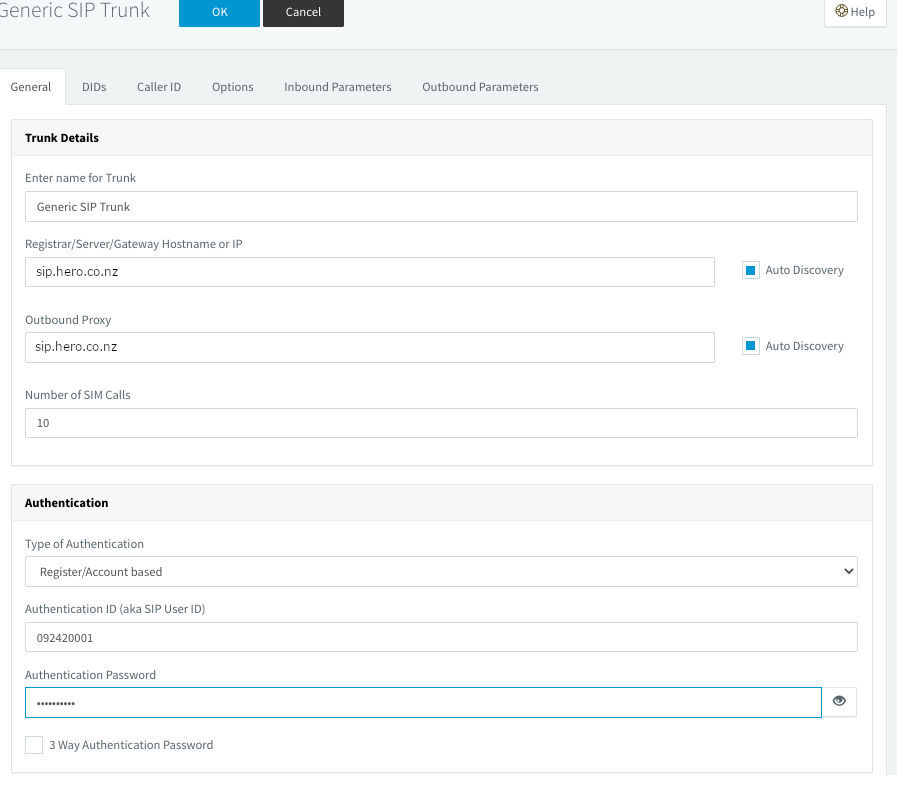
6 - Click the "General" tab.
7 - Configure this page according to the following settings
| Option | Value |
| Registrar/Server/Gateway Hostname or IP | phone.tel2.co.uk |
| Outbound Proxy | phone.tel2.co.uk |
| Number of SIM Calls | {{you choice}} |
| Type of Authentication | Register/Account based |
| Authentication ID | {{your pilot number}} |
| Authentication Password | {{your password}} |
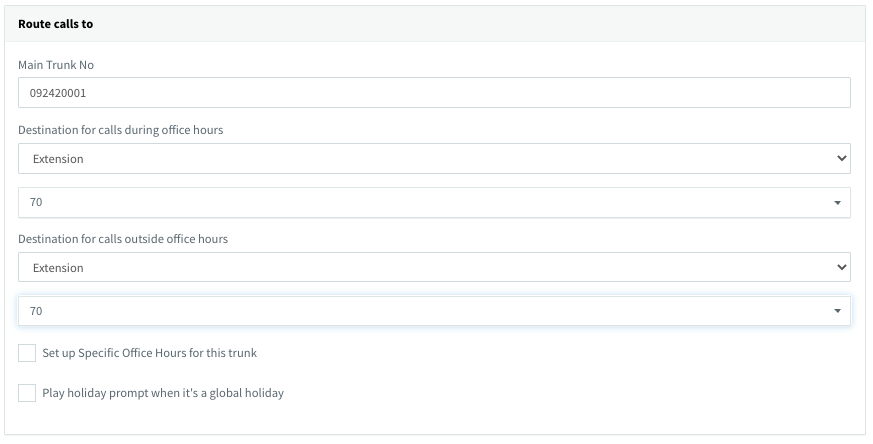
Step 3 - Route your 'pilot number' to an extension of your choosing
How you setup your own 3CX routing is beyond the scope of this document as this is different for every user but an example is shown below routing the call to 'extension 70'
Step 4: Add additional phone numbers
1 - Click the "DDI" tab. You will find your 'pilot trunk' already listed
2 - Add any additional phone numbers that are routed through your Tel2 trunk

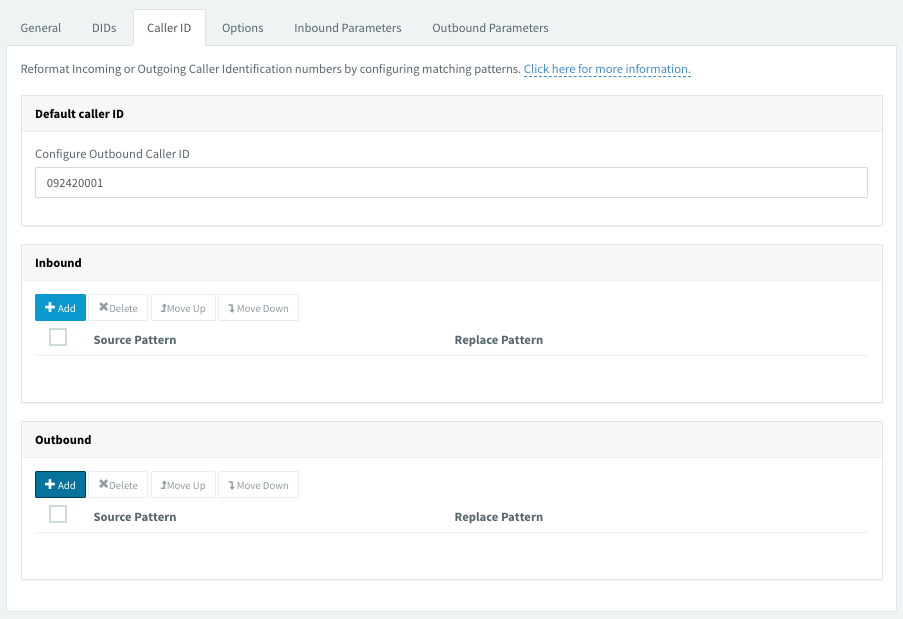
Step 5: Select your Default Caller ID number
1 - Select the phone number you would like your outbound calls to display as your Caller ID. This may be your 'Pilot Number' or any other configured number of your choosing
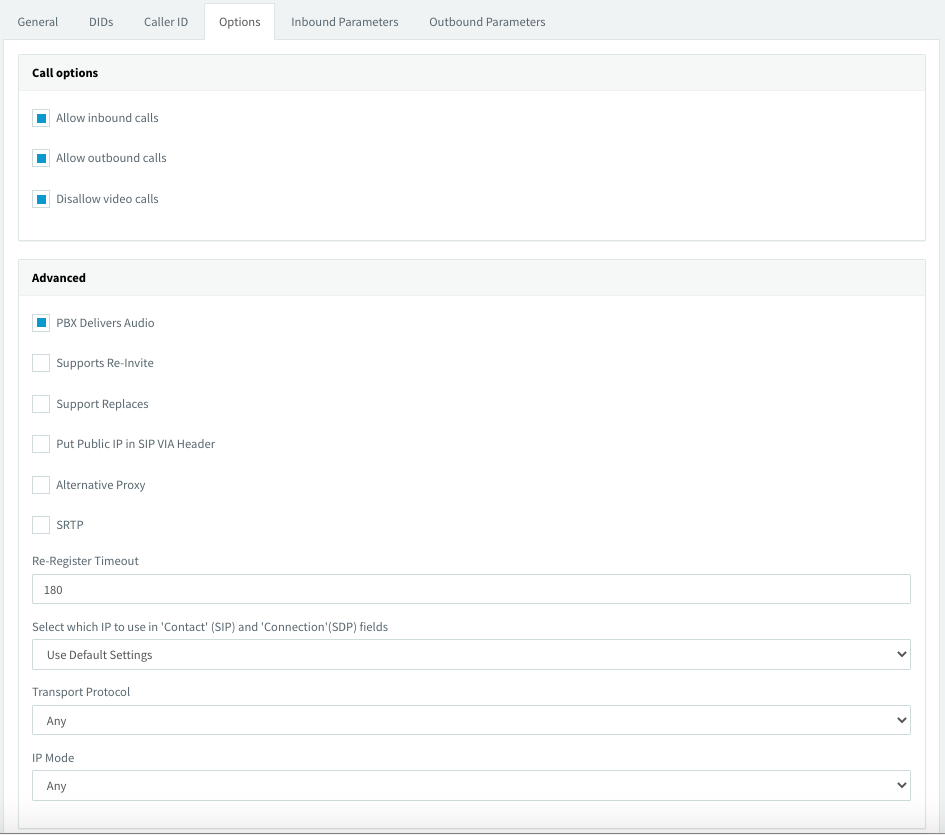
Step 6 - Configure calling options
1 - Click the "Option" tab
2 - Configure this page according to the picture below
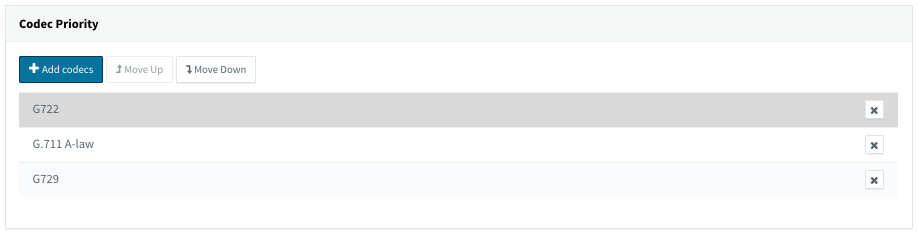
Step 7 - Configure Codecs
- G.722
- G.711 A-law
- G729
Step 8 - Configure Originator Caller ID (optional)
If you wish to pass through the original Caller ID for forwarded/diverted calls from 3CX then you will need to go into the Outbound Parameters and change the P-Asserted-Identity User Part field to be the 'OriginatorCallerID' Original Caller number option.

Step 9 - Save the SIP Trunk
1 - Press the "OK" button
2 - Wait 10 seconds and then refresh the SIP trunks page
3 - You should now see the trunk showing as online with a green icon beside it. This means the trunk is registered and you are ready to go!

Step 10 - Add Tel2 network addresses to your 'Whitelist'
We recommend that you white-list the Tel2 IP Address (27.111.15.65) to avoid 3CX black-listing our trunks for some reason. We have had cases were 3CX has inexplicably added our SIP trunk to the blacklist which has caused the trunk to go offline. By whitelisting our IP addresses this should not ever happen
1 - Click "Security" menu and the left hand side of the page
2 - Click "IP Blacklist"

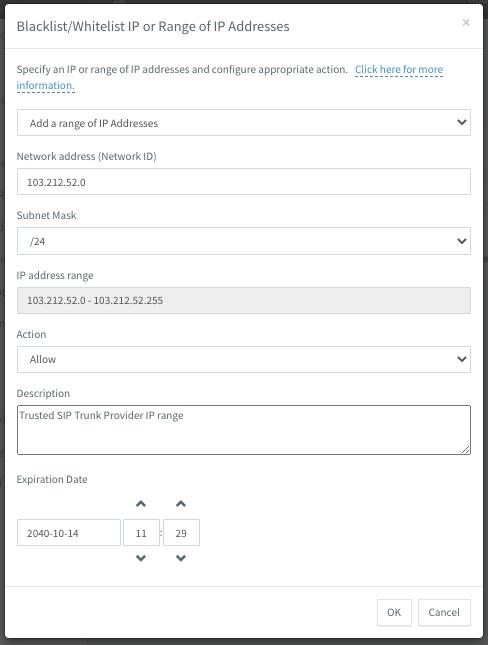
3 - Click "Add a range of IP Addresses"
4 - In the "Network Address" field type "27.111.15.65"
5 - In the "Subnet Mask" field select "/32"
6 - Select "Action" and choose "Allow"
7 - Type a description of what you are allowing (ie "Tel2 IP Address")
8 - Set the Expiration date to be a long way out in the future (e.g. 2040) and then press 'OK' to save your white list settings.
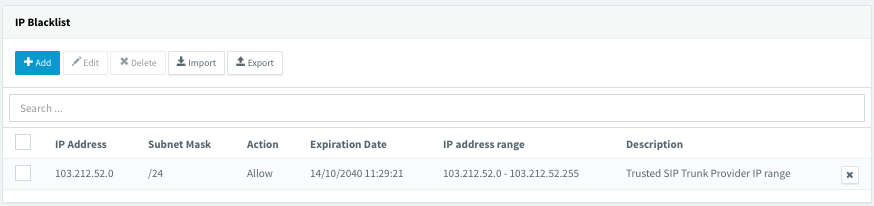
9 - If the white list entry was saved correctly then you should see something like below in the IP Blacklist page.
Option: Setup TLS as your SIP transport
Download the Tel2 certificates before moving ahead. You can find them here
1 - Login to your 3CX server
2 - Click 'SIP trunks' from the left menu
3 - Click on your Tel2 trunk
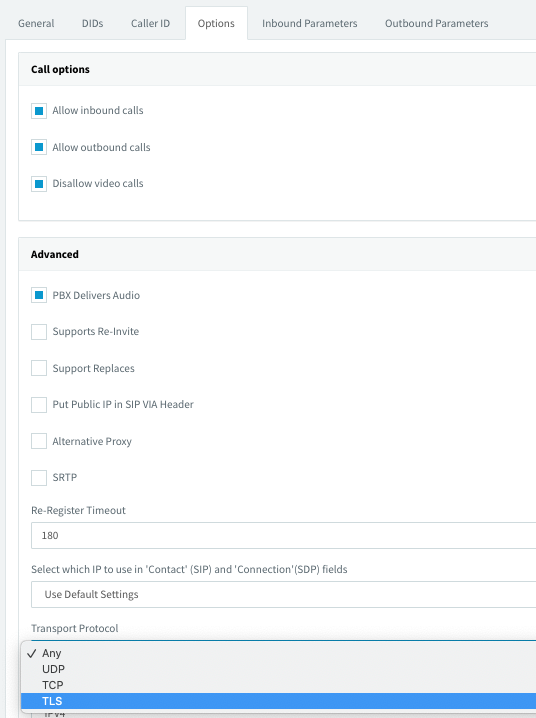
4 - Click the "Options" tab
5 - Click the "Transport Protocol" dropdown and select "TLS"
6 - Upload the saved certificate (PEM) file using the 'Upload' button
7 - Click 'OK' at the top of the page to save your settings

8 You should now see the SIP trunk come up with a green 'online' icon in the main SIP Trunks page. It can take several seconds for the trunk to come back online. If you want to confirm that the trunk is using TLS then you can login to the Tel2 Web Portal and click on the number you are registering with on 3CX and it should show the words 'transport=TLS' in the full contact details for your number.

NOTE: If you have problems connecting via TLS please ensure that you have set your Registrar and Outbound Proxy settings to 'Auto Discovery'. If you have set the ports manually then ensure you change the SIP port to TCP port 5061 in your settings for the trunk (and not the default UDP port 5060)