How to: Configure Tel2 services with Telephone app for Mac
Matthew Atkinson
Last Update vor einem Jahr
"Telephone" for Mac computers is a basic but reliable SIP softphone client for MacOS.
You can download the App by clicking here.
Once you have downloaded the App you should Open it and then you will be presented with some details to complete to setup your phone line:
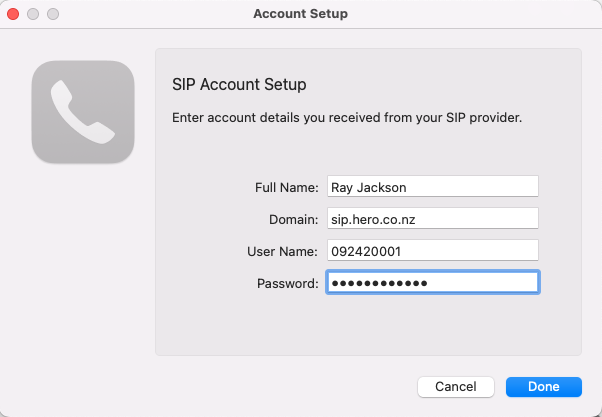
| Field | Value |
| Full Name | [Enter your name] |
| Domain | phone.tel2.co.uk |
| User Name | [Enter your phone number] |
| Password | [Enter your password] |
All being well the App should connect using the standard SIP UDP protocol. However, the UDP protocol is not encrypted and can be interfered with by some firewalls and routers, so we recommend immediately changing the SIP transport to use TLS instead which is secure and more reliable.
How to: Change Transport to TLS
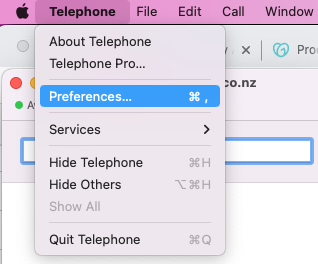
Go to the Telephone menu at the top left of your screen and select 'Preferences':
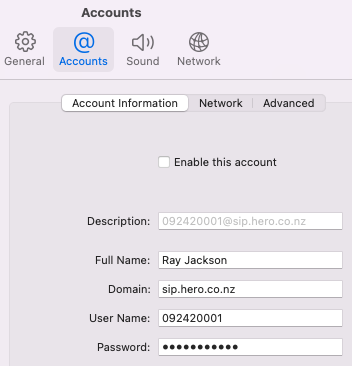
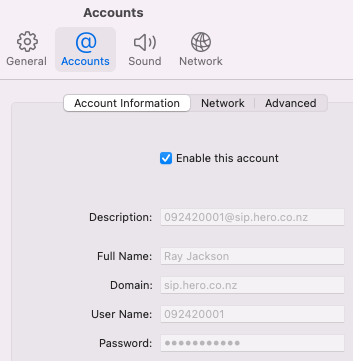
Switch to the 'Accounts' tab and untick the 'Enable this account' checkbox to allow you to edit the account:
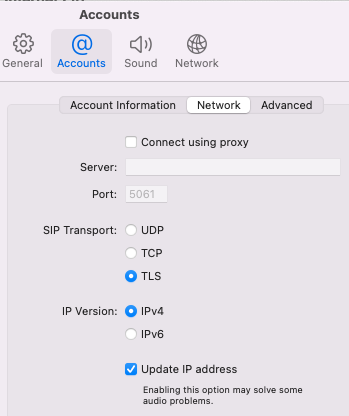
Click on the 'Network' tab and under SIP Transport select the 'TLS' option (instead of UDP):
Then switch back to the 'Account Information' tab and tick the 'Enable this account' checkbox again to enable the account again but now using TLS as the transport protocol:
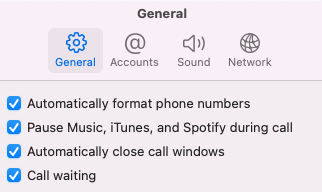
If you wish to make more changes to the behaviour of the App then please see the General section and the Sound and Network sections to select Microphone and Speaker/Headset outputs etc. If you also wish to reject any incoming calls when you are already on a call then untick the 'Call waiting' option in the General section.
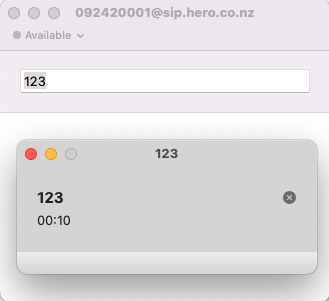
The interface is basic but functional. You simply enter a phone number in the text window and then a pop-up window will show the progress of the call. You can enter digits using your keyboard during the call to select menu options etc. when on an auto attendant.
