Yealink Auto Provisioning Instructions

Ray Jackson
Last Update a year ago
When opening your Yealink phone box, you’ll find the Yealink main phone, one handset cord, one handset, one phone stand and one Ethernet cable.
Flip the Yealink phone machine over and attach the stand to the back slots above the cable ports.
With the handset cable, attach the larger end into the port with the phone icon in the Yealink machine and the smaller end into the handset.
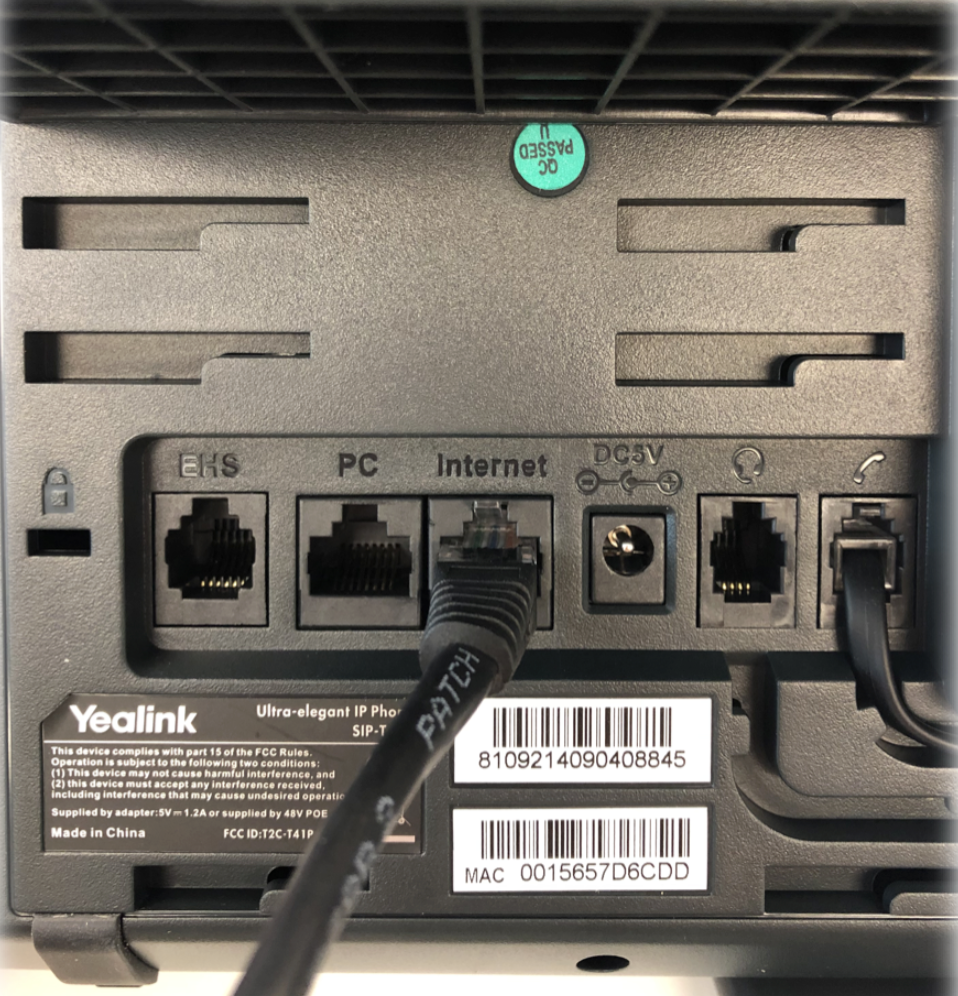
With the Ethernet cable, plug one end into the slot titled ‘Internet’ and the other end into your internet modem or router.
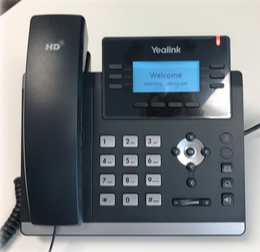
Once you’ve completed these steps, your phone should power on and display a welcome message.
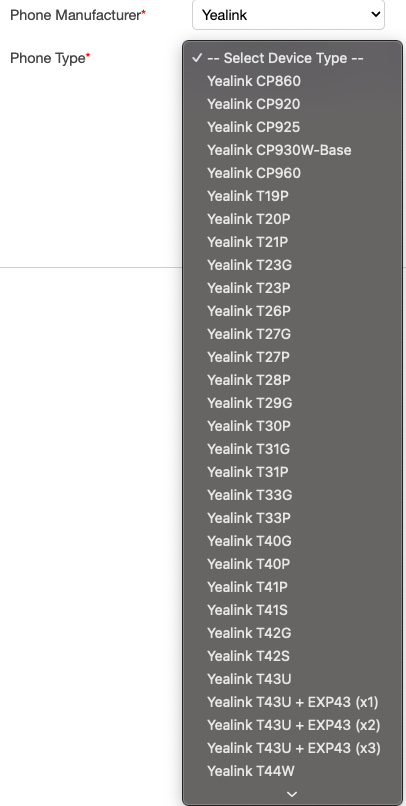
Go into your Tel2 account and select ‘Voice’. From there, select the side bar option ‘Phones’. Here, you can add your new Yealink phone. Select the type of Yealink phone you purchased from the drop menu.
Now, enter the MAC address that is located on the back of your Yealink phone. Enter a description to identify the phone line by. Optionally, you can also set a VLAN ID but this is not required.
Next, set a password to use for your web admin. If you leave this box blank, the default password will be ‘admin’, and the web user password will default to ‘user’.

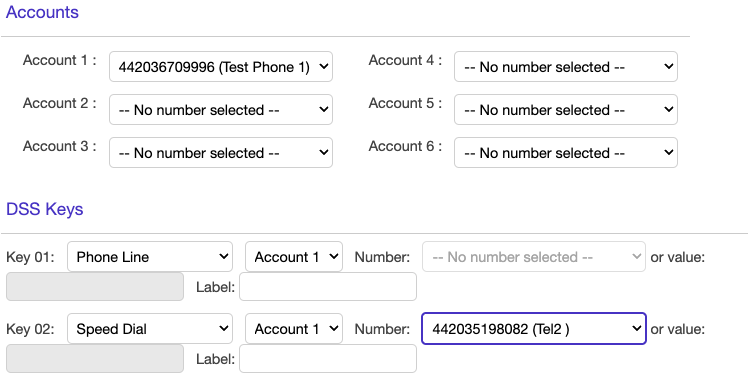
Depending on the Yealink you purchased, you may have multiple phone lines you need to create. When setting up your first, select a phone number in the 'Accounts' sections drop down. Our configuration tool also allows to setup other features on your spare line keys such as speed dials, voicemail buttons, pickup, transfer and more. Details of these other features are outside the scope of this user guide.
Click the ‘add new phone’ button.
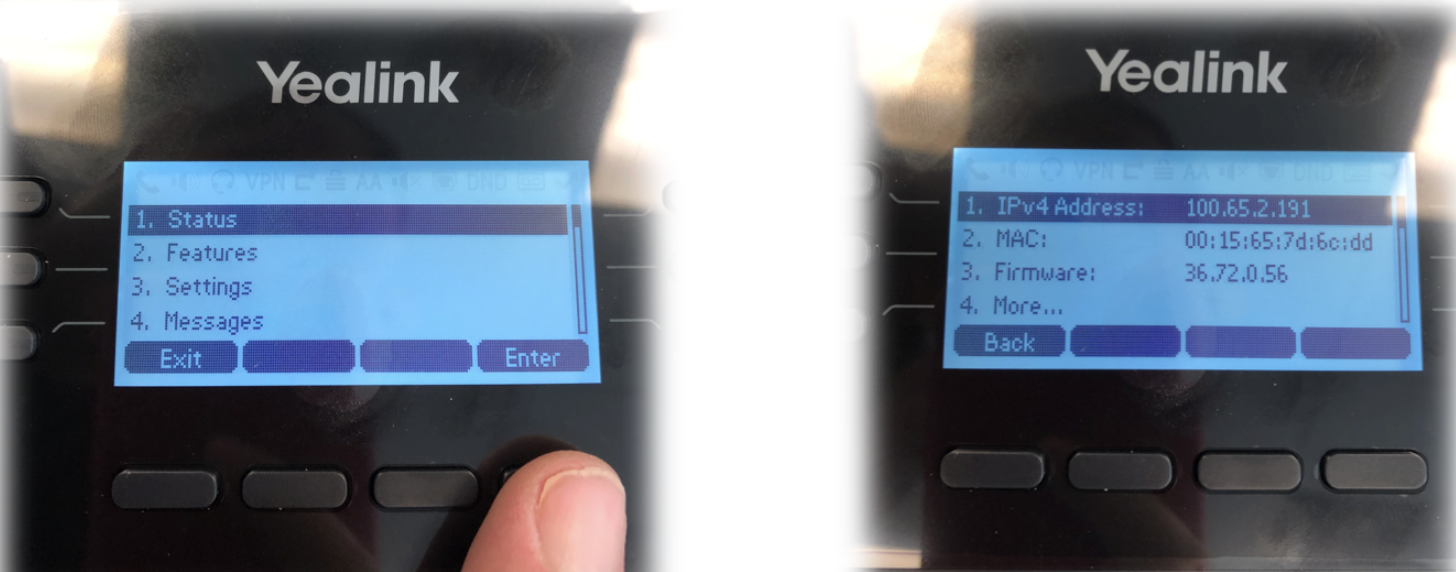
Next you need to learn the IP address of your Yealink phone. To find this, enter the menu, then select Status. The option labeled ‘IPv4 Address’ contains the IP address of your phone.
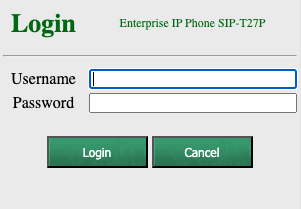
Use this IP address and enter it into your web browser. From here you should be redirected to a login page for Yealink. Enter ‘admin’ for both the user and password sections.
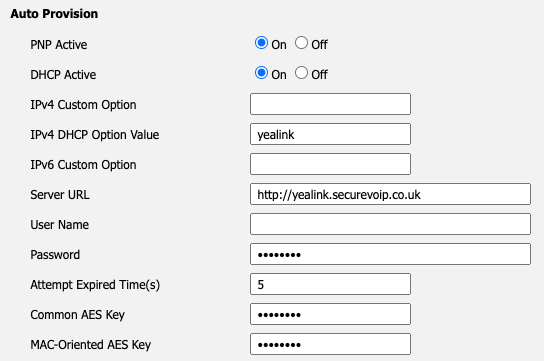
Once logged in, go to the 'settings' tab and then select ‘Auto-Provision’.
In the ‘Server URL’ section fill it out with the following website ‘http://yealink.securevoip.co.uk’ Press Confirm at the bottom of the options and once the page has reloaded, press ‘Auto-Provision now’.
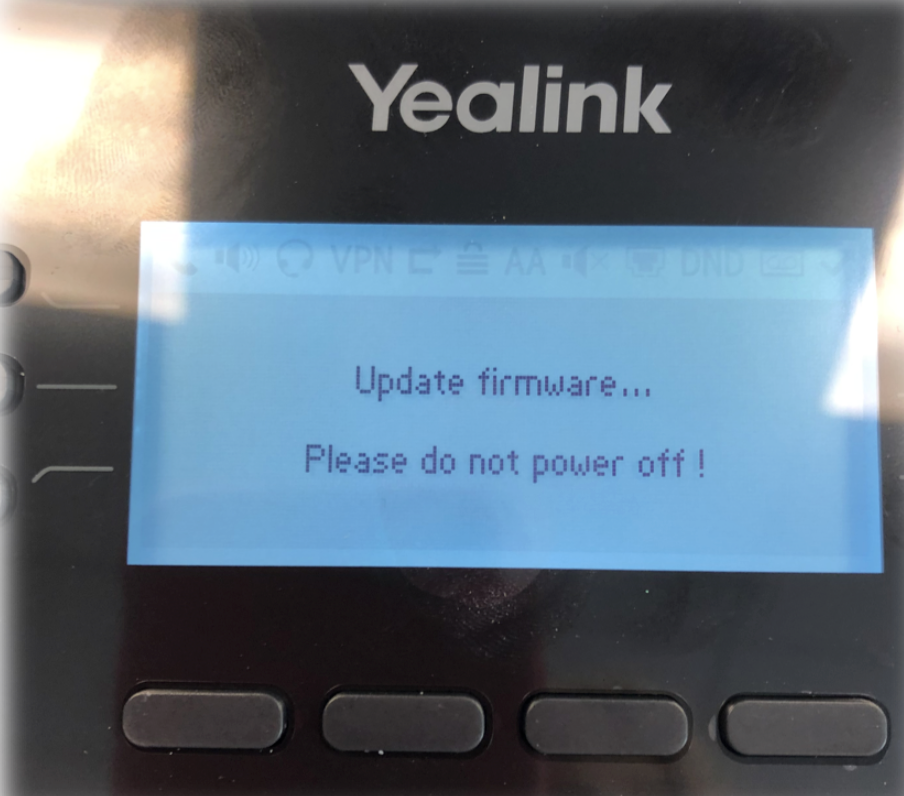
Your Yealink phone screen should now begin to auto-provision and if a firmware upgrade is required it will show this message (see below).
The process may take up to five minutes and the phone may reboot many times to complete the updates. Do not power off the phone during this process.
Once finished your Yealink handset will be ready to use. If you need to make any changes to your phone then you can edit your settings back in our web portal and reboot your phone to download these changes.